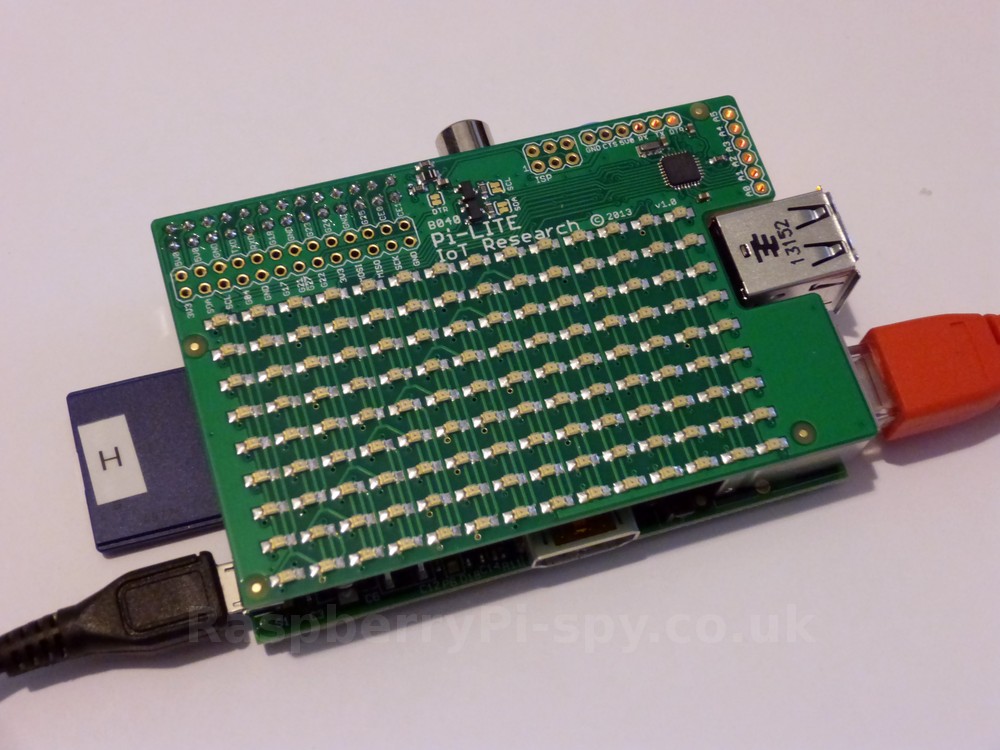
 I recently purchased a Pi-Lite at the Cambridge Raspberry Pi Jam.This is a 14×9 matrix of red LEDs mounted on a PCB that can be attached to the Pi and controlled via the GPIO header. The 126 LEDs can be turned on individually or used to display scrolling text.
Although there is plenty of help material available from the Openmicros.org site I found it a little bit confusing. Information was spread over a mixture of pages and it was easy to get lost in the more advanced detail while looking for a gentle introduction.
So here is my simplified version. My objective was to configure the SD card, connect my Pi-Lite and get some of the example Python scripts working. Nothing fancy just a quick setup before deciding how to move onto something more complicated.
Step 1 – Prepare SD Card and Configure Operating System
To start the setup I always use the latest version of the Raspbian SD card image which is available from the RaspberryPi.org download page.
Boot the Pi using this fresh SD card without the Pi-Lite attached
Step 2 – Disable Serial Port Login
By default the Raspbian operating system allows input and output on the serial port (header pins 8 & 10). This would interfere with the Pi-Lite which uses the serial port to receive its data so we need to disable this functionality.
To do this we start by running the following command to edit the inittab file :
sudo nano /etc/inittab
Find the line :
T0:23:respawn:/sbin/getty -L ttyAMA0 115200 vt100and add a # symbol at the begining to give you :
#T0:23:respawn:/sbin/getty -L ttyAMA0 115200 vt100Then press “CTRL-X”, then “Y” and finally “Enter” or “Return” to save. You should be returned to the command line.
Step 3 – Disable Bootup Info On Serial Port
To stop the Pi sending boot-up information to the serial port we need to edit another file. Run the following command to edit the cmdline.txt file :
sudo nano /boot/cmdline.txt
Find the line :
dwc_otg.lpm_enable=0 console=ttyAMA0,115200 kgdboc=ttyAMA0,115200 console=tty1 root=/dev/mmcblk0p2 rootfstype=ext4 elevator=deadline rootwait
and remove the block of console parameters in the middle to give you :
dwc_otg.lpm_enable=0 console=tty1 root=/dev/mmcblk0p2 rootfstype=ext4 elevator=deadline rootwait
Then press “CTRL-X”, then “Y” and finally “Enter” or “Return” to save. You should be returned to the command line. Now we’ve made the configuration changes it’s time to shut-down.
sudo halt
Wait for the Pi to shut-down completely. Disconnect the power and attach the Pi-Lite to the GPIO header making sure the connector is correctly aligned.
Step 4 – Install Minicom and Test
To test the Pi-Lite we can install a small utility called Minicom which will allow us to send data across the serial port to the Pi-Lite. This data should be displayed on the Pi-Lite.
To install Minicom use the following command :
sudo apt-get install minicom
Press “Y” when asked if you want to continue.
Once installed you can use Minicom to send data to the Pi-Lite using the following command :
minicom -b 9600 -o -D /dev/ttyAMA0
Pressing keys on your keyboard should result in them appearing on the Pi-Lite!
To exit Minicom press “CTRL-A”, then “X” and finally press “Return” to select “Yes” from the prompt.
Step 5 – Download Example Python Scripts
So far so good but now we want to grab the example scripts and try something a little more impressive without getting too complicated at this stage. The official examples are held in a Git repository on Github.com so we need to install Git before we can grab the set of examples. Don’t worry if you don’t know what Git is just follow the instructions!
sudo apt-get install git
Now we will create a directory which Git can use to store data we pull from Github.com :
cd ~
mkdir git
cd git
Now we can pull the examples from Github into our new directory :
git clone git://github.com/CisecoPlc/PiLite.git
Next we need to install the Python serial package :
sudo apt-get install python-serial
Typing the following command will browse to the Python examples folder :
cd PiLite/Python_Examples/
Typing “ls” will list the available files in this directory.
Step 6 – Run Basic Python Example Scripts
The following Python examples should now run without any other additional installations or tweaks :
Pacman.py    - displays a Pacman image complete with munching mouth
BarScroll.py - scrolls a bar graph
BarUpDown.py - grows a set of bars then reduces the size of them
VUSample.py  - an example VU meter
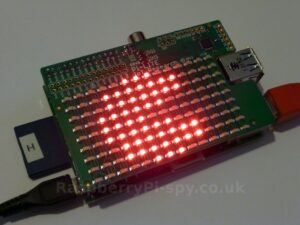
Run them using the following command as an example :
python Pacman.py
This script displays an animated Pacman symbol.
Some scripts will end after a few seconds but you may need to use “CTRL-C” to exit the examples that run in a continuous loop.
Step 7 – More Python Examples
Some of the other scripts require a few more Python libraries to be installed.
sudo apt-get install python-setuptools
sudo easy_install pip
sudo apt-get install python-requests
sudo pip install arrow
When that has finished installing you should be able to run the “PiLiteWorldTime.py” example. This should give you the time in various capital cities including London, Cairo and Paris.
For some reason I was getting an “Error:’dict’ object is not callable” error when trying to run “PiLiteWeather.py” and “PiLiteStock.py”. To solve this I ran :
sudo pip install requests --upgrade
which seemed to solve the problem by re-installing the requests package.
Here are some photos.

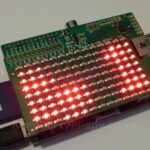
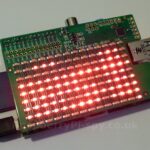
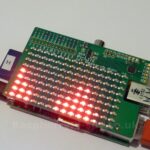
It isn’t very easy taking photos of bright LEDs!
Additional Information
If you want more information about the Pi-Lite including a lot more technical detail then take a look at the official help pages :
